Stonebriar Academy Book Covers & Youtube

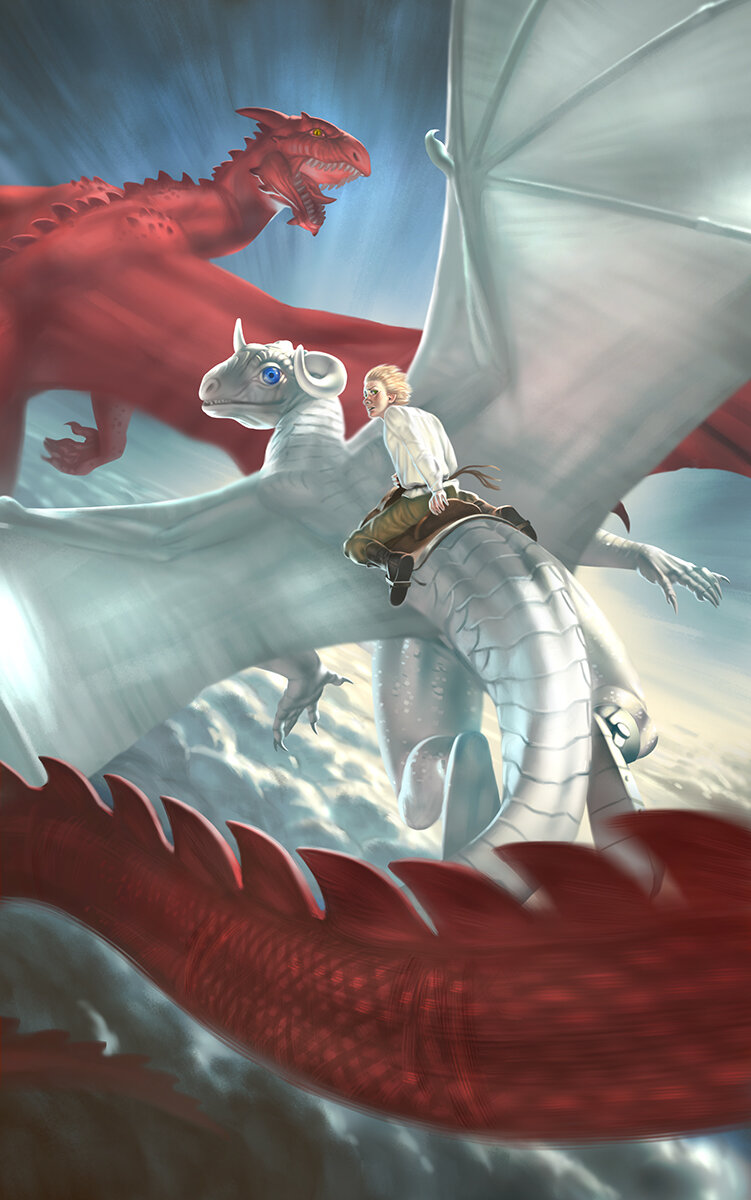
This year has finally started picking up speed! I recently finished four book covers for Stonebriar Academy: School for Dragon Riders, which is available on Amazon Kindle. I worked with the author, Tom Boyhan, over the course of two months and I enjoyed every stage of the process! Here are some thumbnails and final images:

In other recent news, I uploaded my first proper timelapse video to Youtube. It is the first time I have used more video editing than an iphone App: complete with a little intro and cool jams, which I added in Adobe Premiere Pro! Here is the resulting timelapse video of a fairy character I entered into the Character Design Challenge:

I have just the beginnings of a youtube channel, but you are welcome to follow me and see new videos as they are being released!

Sculptable Clothing

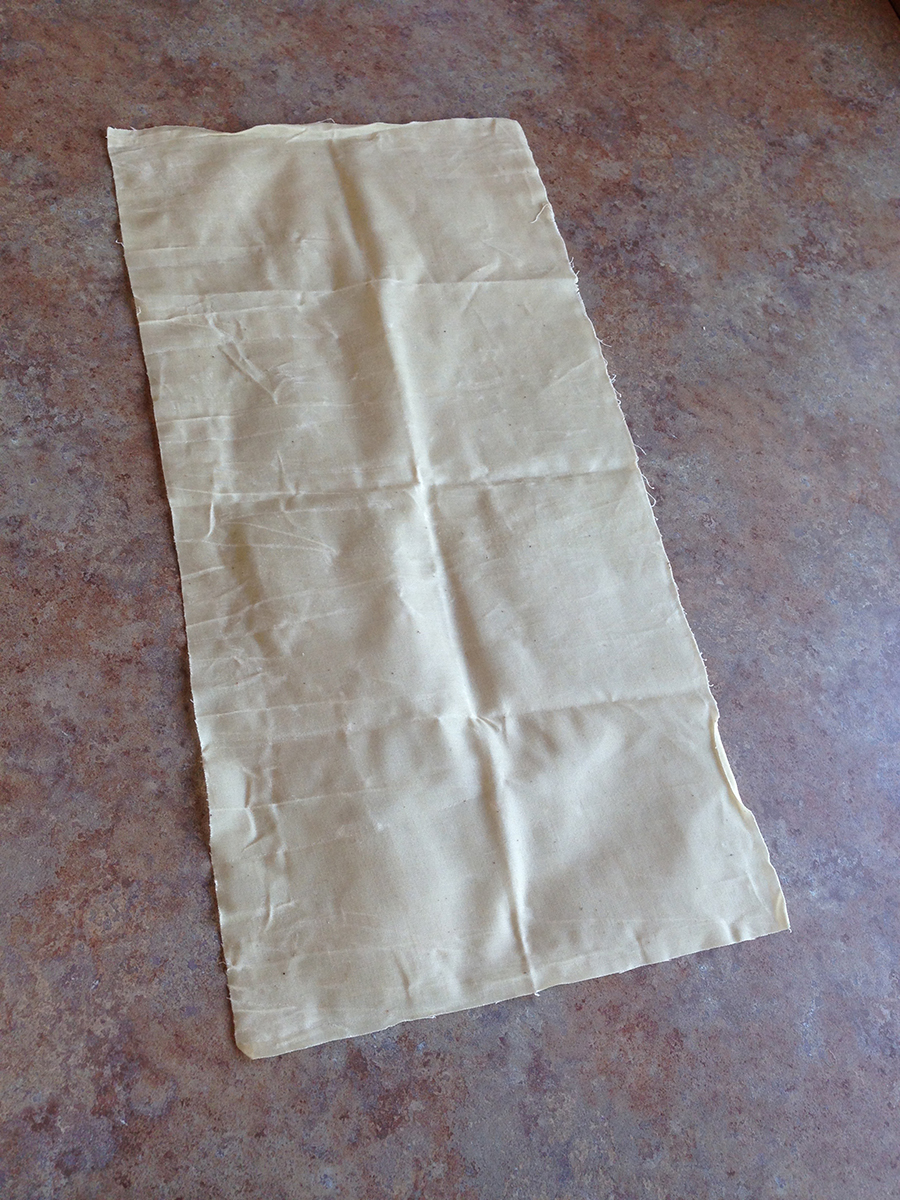
My quest for better art reference has brought me to a new material with properties that would make any illustrator giddy. The material in question is waxed cotton, something I am sure has been around long before its popularity as an alternative to plastic wrap.

The amazing thing about waxed cotton is its ability to adhere to itself, stick to other surfaces, and remain rigid from the beeswax coating. All of these factors play a role in making the fabric sculptable.

The kind I ordered is uncolored, but not pure white, making it perfect for photographic reference. Waxed cotton is also available in patterns and bright colors for those who would like to use it for doll clothing projects. Scrap pieces you want to save condense well and stay put for easy storage. 

Here are some more examples of the properties of waxed cotton. I find that you can get great results from pressing the fabric until it sticks to the maquette where you would see the fabric naturally rest. You can then pull the end of the drape to encourage folds that would be caused by gravity or wind. The weight of the waxed cotton does not allow for really long pieces of unsupported cotton, but you can push it! Twisting and pulling the fabric just the right way will allow for some impressive undulations.

The cotton fabric does a lot of the work by itself, but understanding the how folds should look in real life helps with the fine tuning.

Depending on the complexity of your character's clothing, sewing experience is not required. You can build clothing onto your maquette because it sticks so well. The hood I made for my female maquette is just one rectangular strip of waxed cotton that I have wrapped around her head.  

As an overview, here are the pros and cons of working with waxed cotton:

Cons

  • Heaviness prevents posing of long drapery
  • Leaves waxy residue on skin (much like Sculpey clay, but easier to clean off)
  • Stickiness makes sewn clothing hard to put on maquette
  • Difficult to draw on for cutting patterns 
  • Some fraying occurs at edge of cut cloth 
  • Smells terrible (if you don't like the smell of beeswax)

Pros

  • Sculptable for a variety of cloth posing
  • A suitable fold thickness for being realistic at a small scale
  • No-sew options for most clothing types
  • Affordable price
  • Reusable by washing with soap in cold water
  • Easy to compact for storage
  • Easy to cut 
  • Translucent quality great for backlit lighting schemes
  • Slight transparency helpful for viewing anatomy
  • Slight elasticity for more flexible maquette posing
  • Smells amazing (if you like the smell of beeswax)

There are a few more techniques for achieving sculptable clothing including:

Gone are the days of tape-covered foil! Actually, that stuff worked pretty well when I needed it. Happy reference gathering!

WIP: Beneath the Tumtum Tree

After a short break, I am returning to a piece inspired by the nonsense poem, Jabberwocky. I detail some of my process on my collaborative blog, Triptych. See the full post here.

A Look Beyond: Swarm

I want to take you behind the scenes of a recently completed piece, "Swarm".

BroersmaSwarm

The initial rough sketch:

ArtTradeBulbThumb800.jpg

The maquette:

MothMaquette899.jpg

With the maquette, I printed out the wings from an image of a silk moth and glued it to a wire body. I then glued cotton onto the wire and tied string to restrain the fluff in key areas. The legs are twisted paper, which in hindsight, would have benefited from a little more attention to accuracy.

The reference photos:

There are a lot more where these came from.

There are a lot more where these came from.

I set up a light to photograph my moths to get a sense of scale. The brightness of the light made my photos over-exposed, so I printed out a photo of a light bulb onto some thick cardstock and taped it in front of the actual light. I didn't end up needing the lighting information in the end since I went with a graphic rendering for the moths. Oh well! It still looks cool.

The photo montage:

I took my photo reference and pasted the moths directly onto their spots in the initial thumbnail. It was nice being able to move around the different layers and fine-tune the moths' positioning.

The refined drawing:

I made some more precise line art, which I drew digitally and printed out to trace onto my drawing surface.

The 3D model:

Like I mentioned before, I didn't make very accurate legs for my maquette, so I made a 3D sculpt. It also made for some better reference for the head.

The value study:

SwarmTraditional800.jpg

This piece was intended to be finished as-is, which can explain the high level of polish. I decided later that I wanted to create a larger digital version with some added detail in areas like the wings.

The final illustration:

I painted directly on top of the traditional piece, making small improvements along the way. Adding the wing veins was a little tedious, but I was able to use one set of lines that I transformed (using "distort") to fit all of the different angles. I went with a smooth surface for the light bulb and added a paper texture to the moths to give it more visual interest, especially in close-up views.